
Dave's Hots Chickens Dave's Hots Chickens
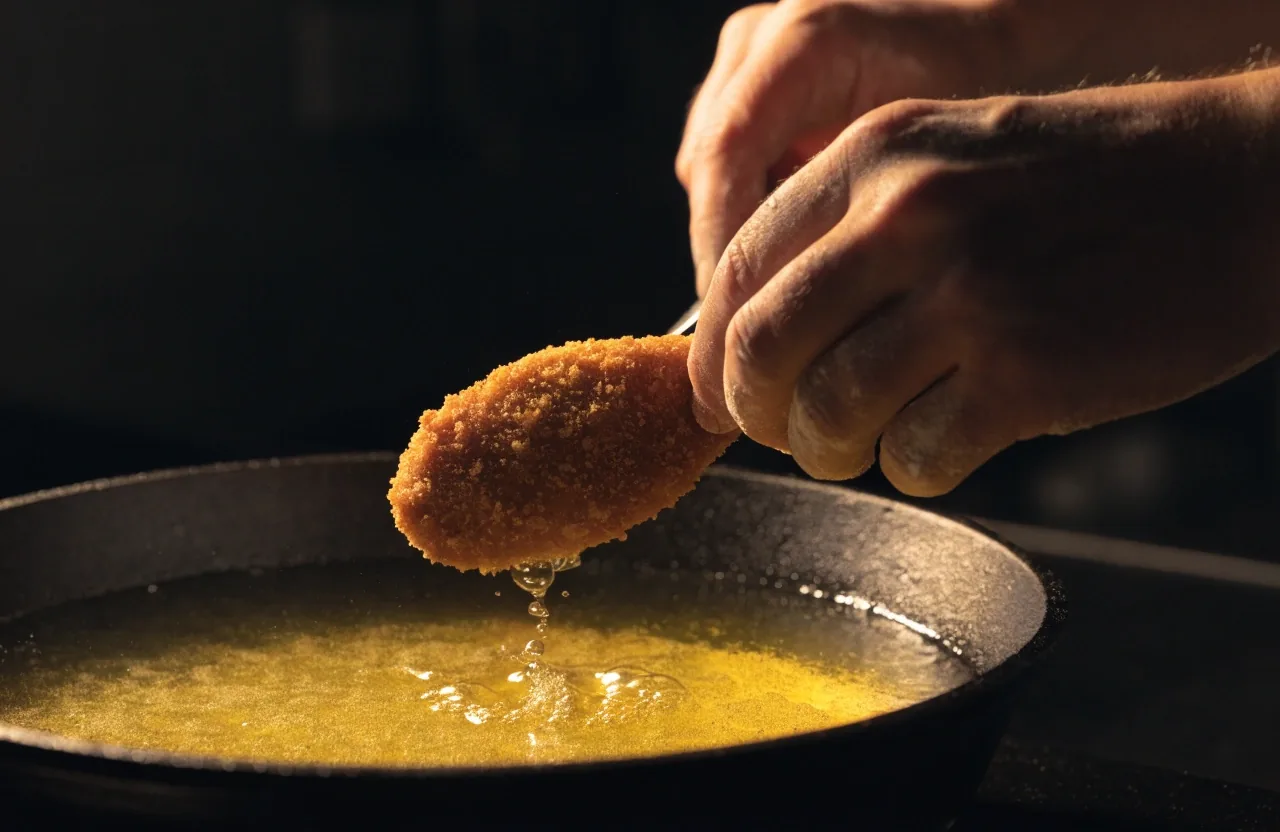
Tongs lifting a breaded wing from a pot of hot oil

The Pass Notebook

The Techniques Behind Crisp Fried Chicken

Recipes are the what. This page is the why. Learn brining, dredging, oil temperature, and double-frying well enough that a weak batch becomes a fixable problem instead of a lost dinner — the same set of moves behind the Dave hot chicken style people queue for.

Read the technique, not just the steps

A recipe tells you what to do next. Technique tells you what went wrong. That gap is where most home cooks get stuck: the coating slides off, the crust goes dark before the meat is done, the wings turn soft the moment sauce touches them. Each of those is one step, and each step has a fix. Below are the eight moves we lean on inside the collection, written the way we talk through them when someone asks why their last tray of Hots chicken didn't land.

Eight moves that decide the crust

Work through them in order. Each one answers a symptom you have probably already tasted.

Brining

Seasoning from the inside

Salt in a brine moves into the meat and seasons it through, not just at the surface. Buttermilk adds acidity, which tenderizes the outer layer without turning the meat to mush. The practical rule is time: too short and nothing happens, too long and the texture goes soft. The recipes give windows rather than a single number, and the window depends on whether you are brining strips or bone-in pieces.
Dredging

And the press

A coating sticks when the surface is wet and the flour is pressed on, not dusted. The standard sequence is flour, then buttermilk, then flour again, with a firm press on the second pass. That press creates the uneven, craggy surface that fries into flakes. Skip it and you get a smooth shell that slides off in the oil. This is one of the few steps where being rough with the food is correct.

Cornstarch

Why it belongs in the flour

All-purpose flour browns and flavors well, but it stays slightly soft. Cornstarch fries hard and stays crisp longer, which is why the seasoned flour blends in this collection use both. The ratio is the lever. More cornstarch means a harder, glassier crust. More flour means a more traditional, slightly softer coating. Neither is wrong; they are different targets.

Oil temperature

Why guessing fails

Oil that is too cool soaks into the coating and leaves the chicken greasy. Oil that is too hot darkens the crust before the inside cooks. A working range for bone-in pieces is roughly 325°F to 350°F. Adding cold chicken drops the temperature, so you start slightly higher and let it settle. A thermometer removes the guesswork, and the recipes tell you what to watch for if you do not have one.

Double-frying

What the second pass actually does

The first fry cooks the meat. The rest lets internal steam escape and the crust set. The second fry, at a higher temperature, drives off remaining surface moisture and firms the coating. That is the whole trick behind wings that stay crisp under sauce. The collection gives the temperatures and the rest time, plus what changes if you are frying boneless pieces instead of bone-in.

Managing heat

In a home kitchen

A pot of oil holds temperature poorly when it is crowded and recovers slowly when it is not. Fry in batches sized so pieces do not touch, and give the oil time to come back between batches. If the temperature climbs while you are waiting, turn the burner down rather than adding more chicken. The recipes note the batch size for each format, since nuggets and cutlets behave differently than bone-in pieces.

Resting and draining

Rack, not paper

Fried chicken needs to drain on a wire rack, not on paper towels. Paper traps steam against the bottom of the crust and softens it. A rack lets air move around the piece. If you are holding finished chicken for a crowd, a low oven works for a limited time, and the recipes specify how long before the coating starts to suffer.

Heat after frying

The Nashville-style finish

Nashville-style cayenne oil is poured over the finished piece, not used as a marinade. That is the whole distinction between hot chicken and spicy fried chicken. The oil is heated with cayenne, paprika, and a little brown sugar, then ladled over the crust right before serving. Because it goes on last, the crust stays crisp underneath, at least for the first few minutes, which is when it should be eaten.

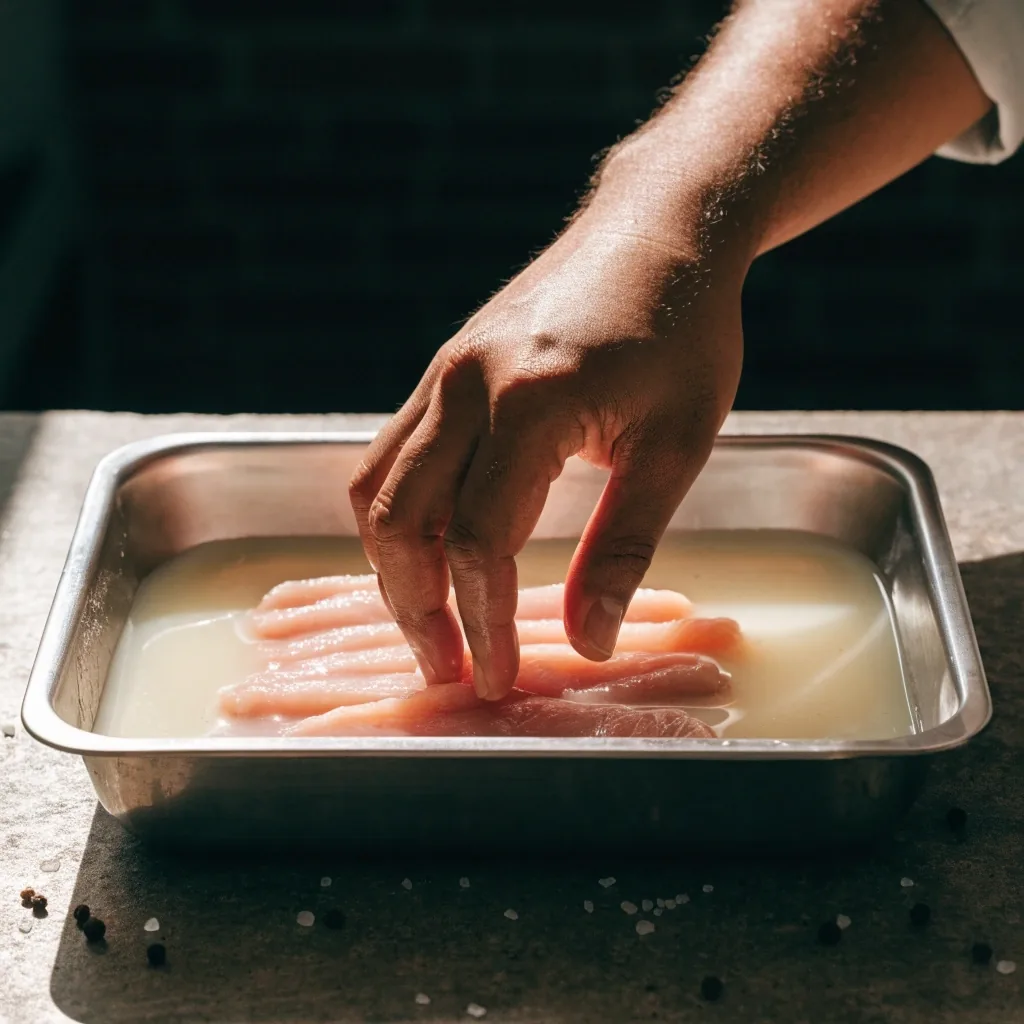
Chicken strips resting in a tray of buttermilk brine
A shallow tray keeps the strips fully covered without drowning them — and it is easier to keep the brine cold.

Two minutes of prep decide the next twenty

Brine and dredge are the two steps home cooks rush, and they are the two steps that carry the most weight. The brine is passive time — the work is done by salt and acid while you do something else. The dredge is active time, and it rewards a firmer hand than most people expect. Press the flour in until the surface looks shaggy, then go straight to the oil. Breaded pieces that sit on the counter waiting for a second batch absorb moisture from their own coating and start to slump before they ever hit heat.

If you only have one pot and a crowd to feed, fry the bone-in pieces first — they take the longest and hold the best — and finish with nuggets and cutlets, which need the least time and the freshest crust.

Reading your own results

If the crust is pale and greasy, the oil was too cool. If it is dark outside and raw inside, the oil was too hot or the pieces were too thick. If the coating slides off, the dredge was not pressed. If the meat is bland, the brine was skipped or too short. Each symptom points to one step, and the collection's troubleshooting notes are organized that way.

Symptom to step

  • Pale and greasy Oil ran below temperature
  • Dark outside, raw in Oil too hot, or the cut was too thick
  • Coating slides off Second dredge was not pressed
  • Meat tastes bland Brine skipped or cut short
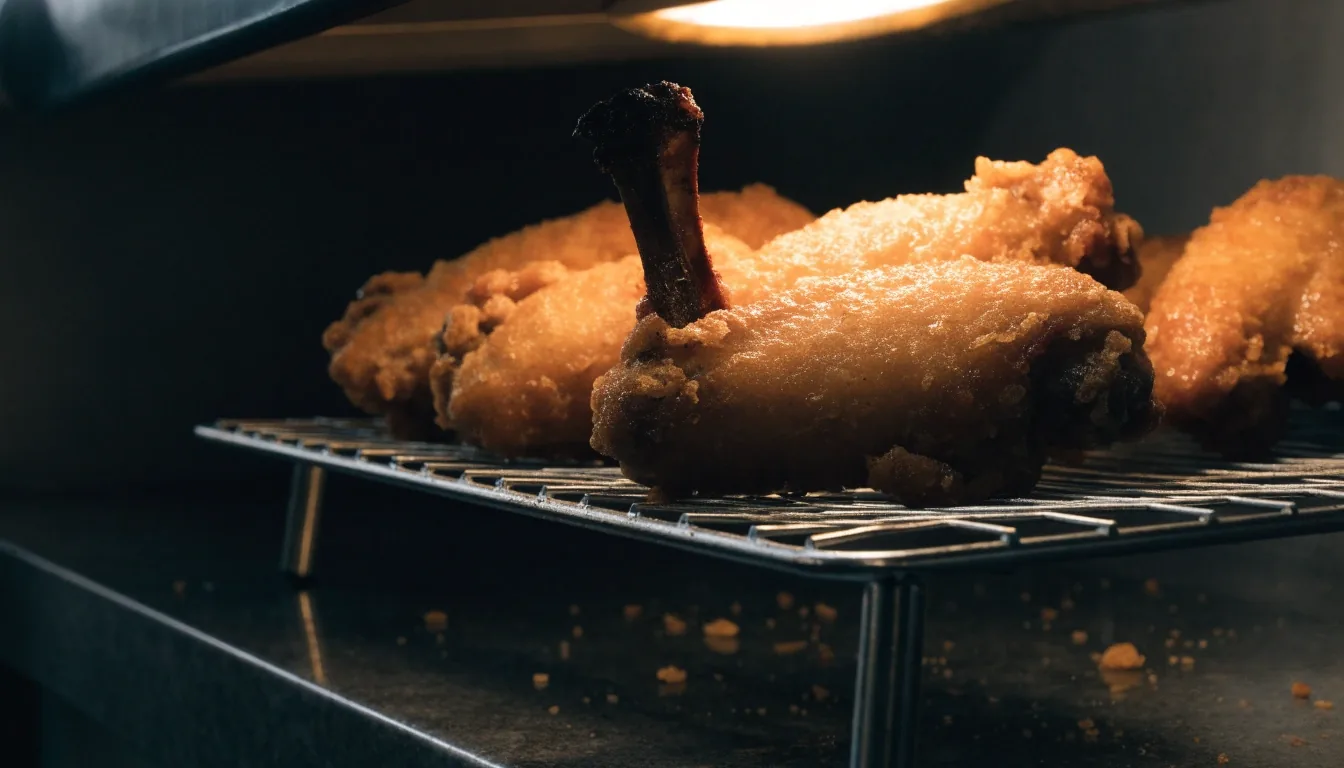
Double-fried wings draining on a wire rack under a heat lamp
Wings straight out of the second fry, draining before sauce. The finish

The collection hands you the window, not the rule

Every recipe in the set is written as a range with a reason attached: brine this long for strips because they are thin, this long for bone-in because the meat is denser. Oil sits in a band, not at a number, because a home pot does not hold temperature the way a restaurant fryer does. Knowing why the range exists is what lets you cook a different cut on a different night and still land the crust. That is the real difference between following a recipe once and owning a technique.

See what's in the collection Ask a technique question

A free sample recipe is included with every collection — no account needed to look at what is inside.

Questions that come up on the first fry

The three we hear most often. If yours is not here, send it over — we answer technique questions directly.

Ask a technique question
How long should chicken stay in a buttermilk brine?

It depends on the cut. Strips and tenderloins need less time than bone-in pieces, and the recipes give a range for each. Going past the upper end softens the texture rather than improving the flavor.

Why does my coating fall off in the oil?

Usually the second dredge was not pressed on firmly, or the breaded pieces sat too long before frying and the coating absorbed moisture. Press the flour in, then fry promptly.

Is a second fry really necessary for wings?

It is the most reliable way to get a crust that survives sauce. The first fry cooks the meat and the second firms the coating. You can skip it, but expect softer wings once they are dressed.

Where to take this next

If you want to see the recipes these techniques belong to, start with the collection. If you are still deciding between heat levels, the flavor guide walks through the cayenne-oil direction and the milder versions side by side. Questions about a specific batch are welcome any time during business hours, Monday to Friday, 9:00 AM to 6:00 PM.

Dave's Hots Chickens — 4820 W Sunset Blvd, Los Angeles, CA 90027, USA

+1-323-555-0198